Description
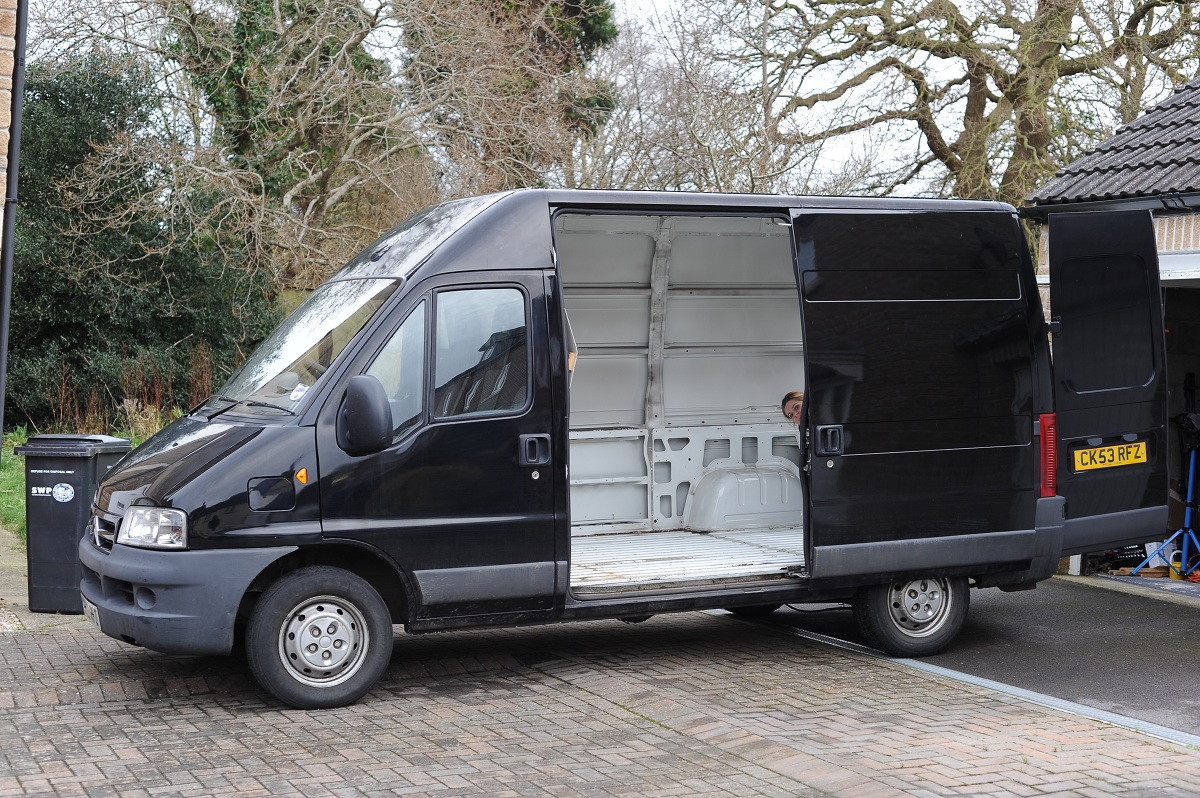
In order to insulate, I had to clear out everything from the van. I also wanted to treat for rust and have a perfectly empty van to look at.

Background
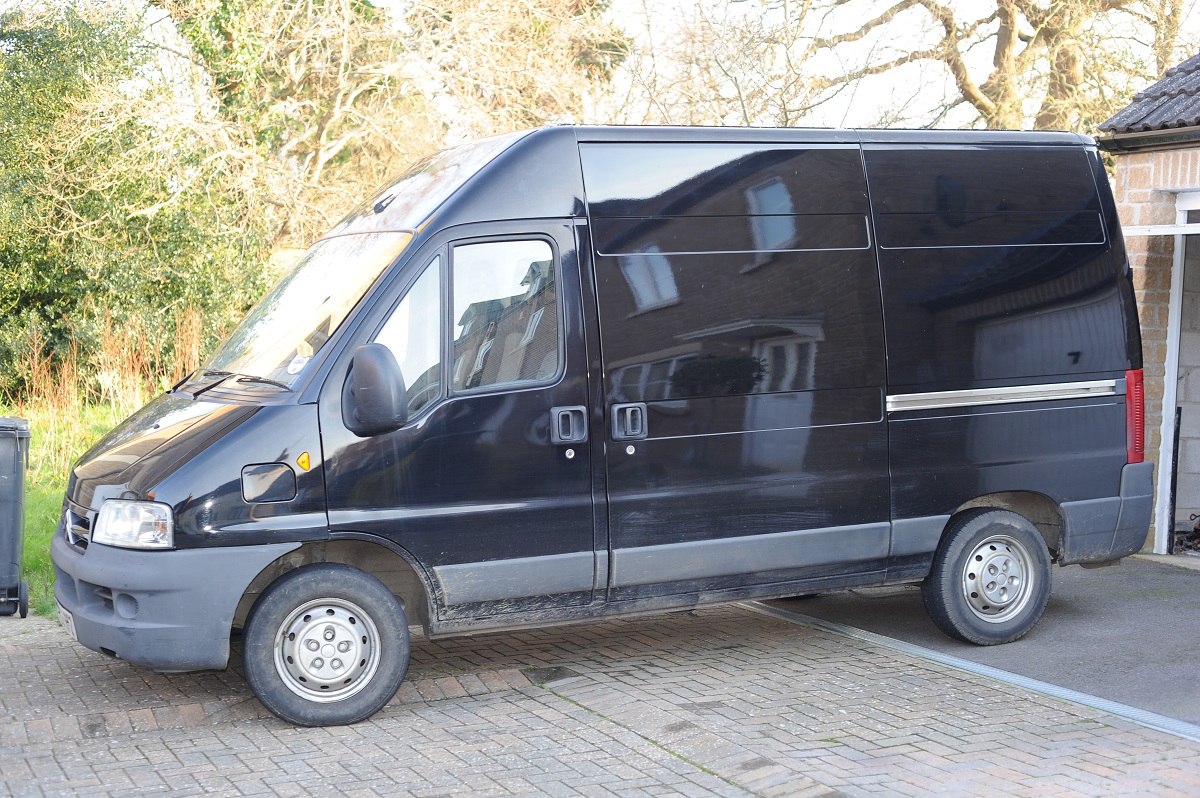
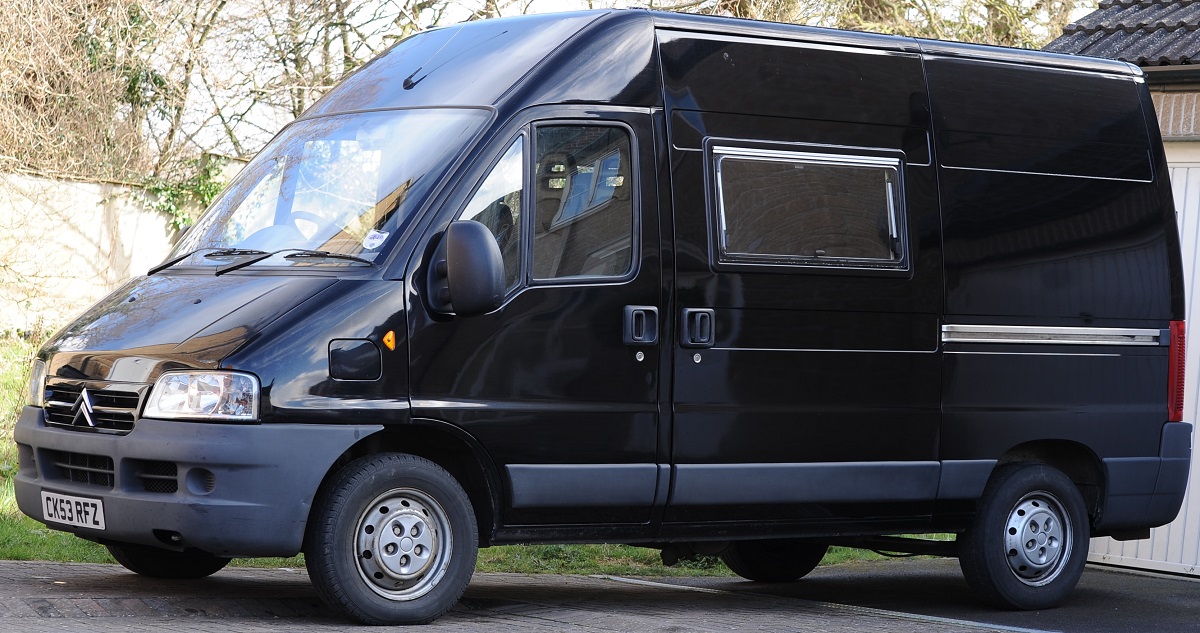
What an exciting moment! This is the part where I actually have a van and begin the conversion. There not much else to say about this. Every artist needs a blank canvas.
Equipment
- Electric drill,
- Small drill bit,
- Screwdriver,
- Cat's paw,
- Hammer,
- Pliers,
- Caulking gun,
- Sikaflex 252,
- Euro cent, British five pence, Polish grosz coins,
- Hex key,
- Wire brush,
- Metal file,
- and Hammerite Paint
Procedure
Panelling
The first thing that had to come out were the boxes over the wheel arches. These were a few wood screws and something like caulking that just pulled off.
I had been under the impression before I bought the van that everything would be ply-lined or not lined at all, but I was proven wrong. The liner was held on with a number of small, self-tapping screws that were fairly easy to remove. Being super lazy efficient, I just used my electric drill and removed them quickly. Some of them didn't want to come out. If I had a section of the panelling already unscrewed I could usually pull on it to apply pressure to the screw. Otherwise, I used my trusty cat's paw and would gently pry on the screw itself, or behind the panelling while unscrewing to get the threads to grab and come out. Through the whole process I was worried about pulling a panel and seeing rust behind it. Not a speck to be found yet. So far, so good.
In addition to the plastic panelling was another type of panel held on by plastic rivets. These were not difficult to remove. They are pretty large and hold themselves in quite tightly, but not so tight than a claw hammer notices. To remove them, I slid the claw under the panel itself and then pried up on the panel until the rivet popped out. I ended up doing it this way because the rivets were in tight enough that I couldn't get between them and the panel without difficulty. My biggest concern doing it this way was to make sure I was not scratching the paint as I slid the claw under the panelling. In places, the angle was not good, but nothing that required any real level of thought. Unlike the small car rivets, I only broke 2 of these. All things considered, I'll chalk that up as a great way to start.
Over Cab
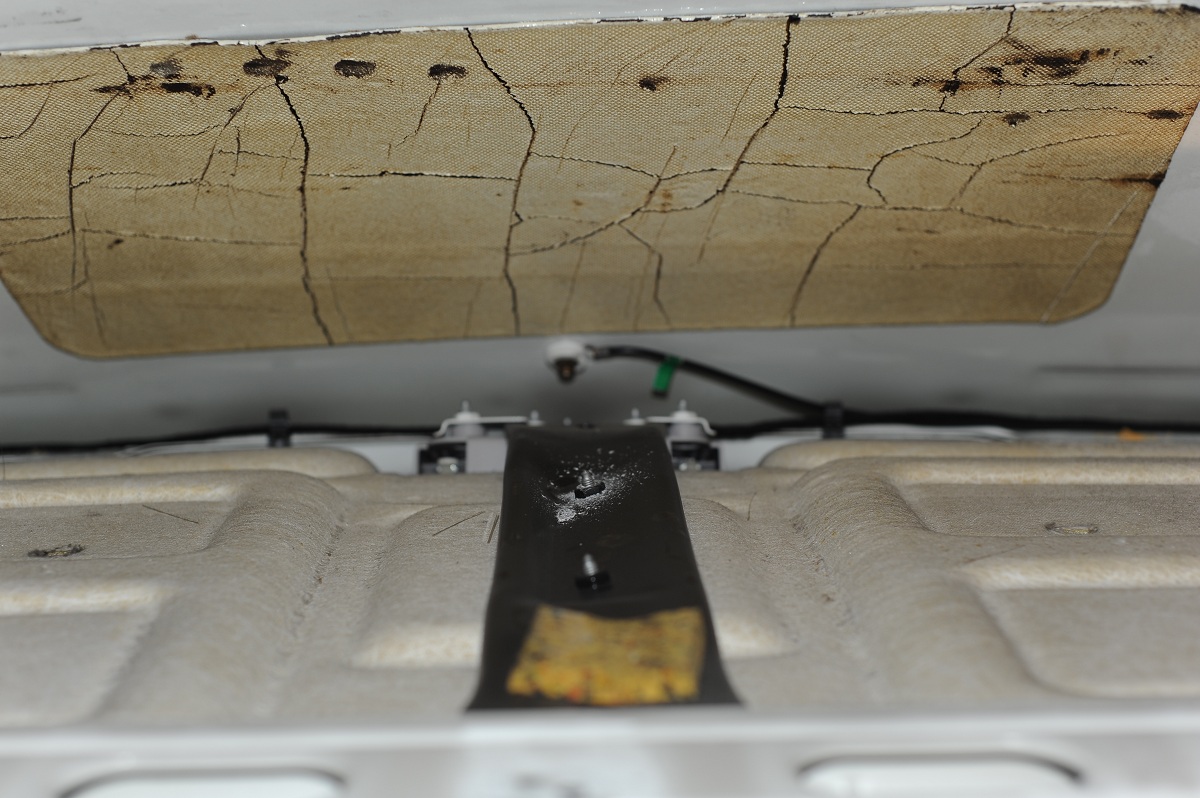

The next part that I removed was the plastic top storage shelf over the cab. It proved to be nearly as easy as the lower panelling. It was held on by the same type of rivets as the lower wall panels were, only these were grey in color. That deceptive camoflage wasn't enough to fool me, so I yanked them out the same why I did the others. There were a couple of screws holding the plastic down that I didn't notice. After removing those, it slid right out without a problem. Once I pulled off that shelf, I realized that the roof over the cab area was just some kind of molded foam thing that could easily be removed. To do so, I had to remove both of the grab handles and the sun visors. These were held in by hex bolts. Then I had to pull out the overhead light. A screwdriver to pop off the cover and three hex bolts later, everything was out. Perfect!
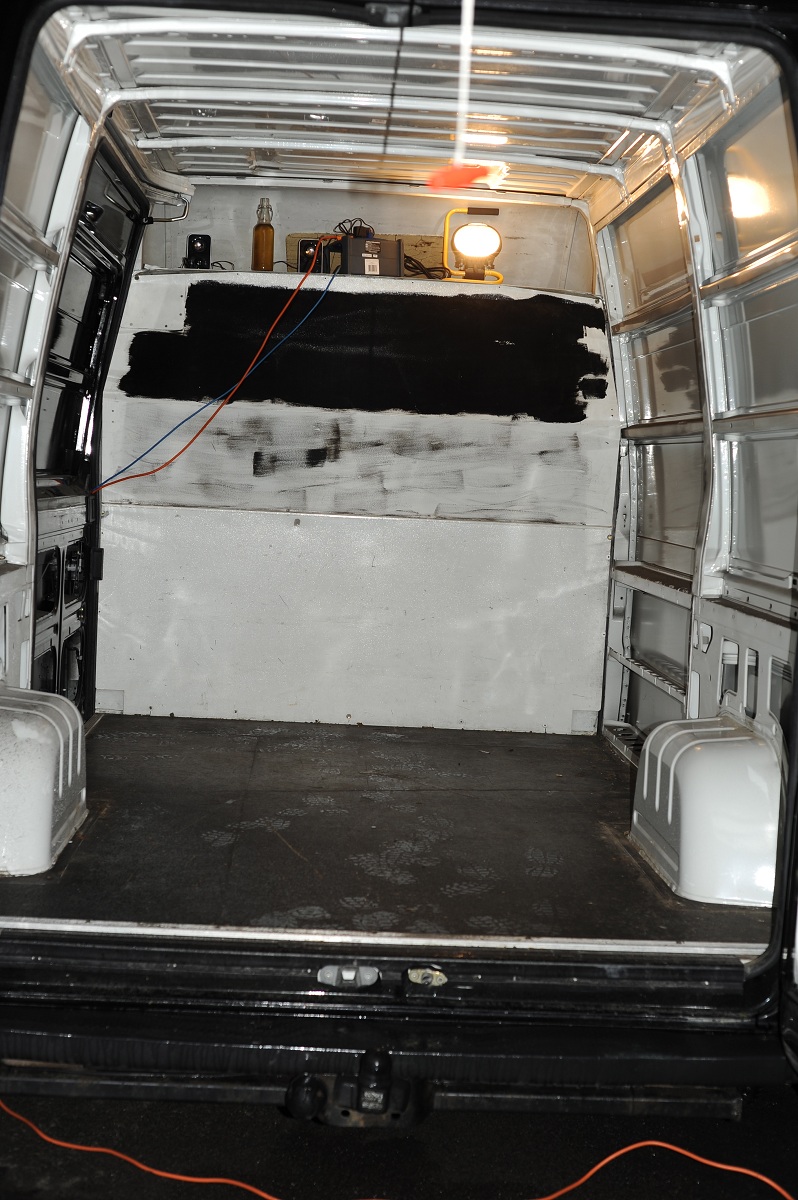
Bulkhead
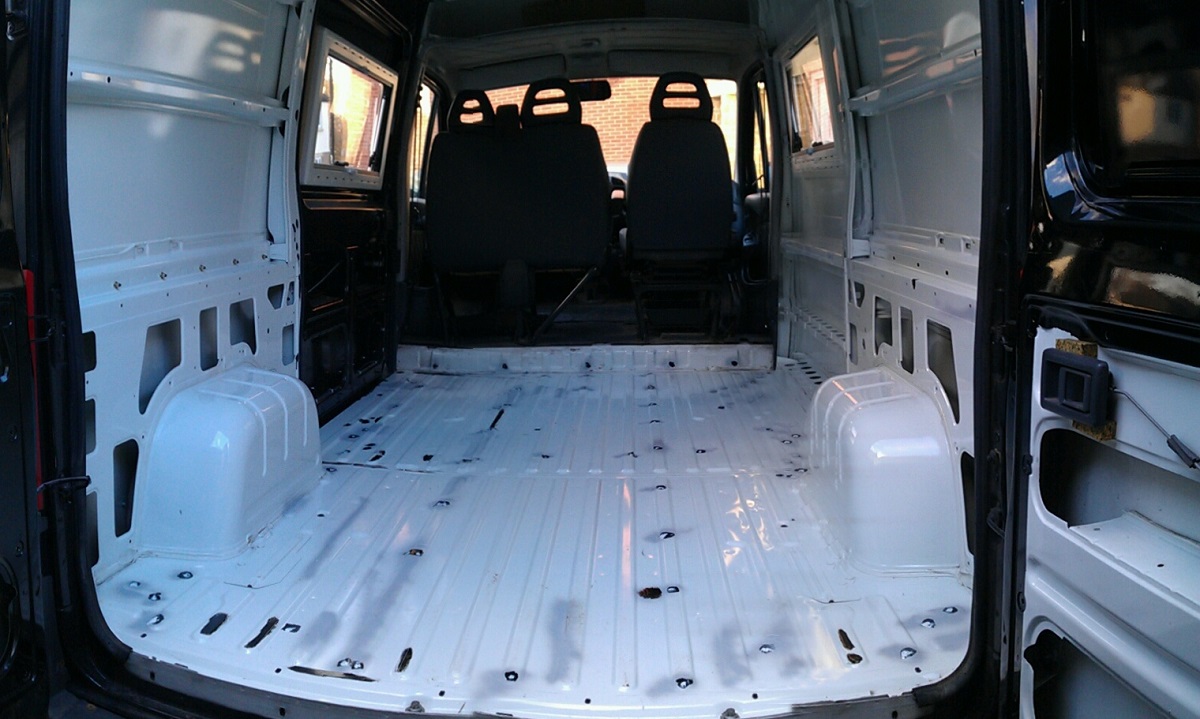
You can see in the images the bulkhead that was in place when I bought the van. It is pretty ugly, but attached very simply. It is divided in two, the bottom rectangle, and the top portion. The top is bent out and I have no real idea why. I removed the three self-tappers that were used to hold the top part and the 4 bolts that attached the top half to the bottom section and pulled it on out. It was pretty heavy. The bottom was held in with some more self tapping screws along the bottom. Take note that once this is out the van can get very cold to be in, and it adds to the noise while driving. I left this in until I had no choice but to remove it to try and keep the van warmer on the drive to work.
Floor
The last step to get everything out was taking out the floor. I have to say that I felt my heart in my throat for a few seconds while I was removing screws... I could see the pavement through the screw holes! I know, it's expected, but that doesn't mean that I didn't feel weird knowing that I had puncture wounds through the van. Getting the screws out was a pain in the butt, mostly because I didn't have a wire brush. The floor was held down by self-tapping screws. These had become full of grime over the years and so I had plenty of difficulty removing them. I ended up getting some soapy water and a wire brush and went at them like they owed me money! Using this method, I was able to clean most of them enough to remove normally. There were some stubborn ones in the floor transition strips. These are the strips that hold the ply down at the rear where the doors open and at the opening where the sliding door is. For these ultra-stubborn ones I took a very small drill bit and drilled into them enough to free outa small chunk of crud, then was usually able to wire brush the rest of the gunk out after that. There were still two screws that wouldn't listen no matter how sweetly I spoke to them, so I just ripped one out with Hulk Power and vice grips and then broke the head off the other and unscrewed the threaded part with pliers after the floor was out. A number of the screw holes show a small amount of rust around the hole. I don't know if that is expected or not, but it makes sense to me.
Rust Treating
I took my lamp and a bucket of water and a rag. I wiped down every square inch in the back and everywhere on the floor. Anywhere that the screws pulled the metal too much I files down with a metal file. I jacked up the van so that I could spend some quality time underneath on a creeper. I used a wire brush to scrub the areas around each hole. Some holes were in places that were just impossible to reach with the brush, so they didn't get the roughing, but they did end up getting treated. After scrubbing the areas, I used a can of spray rust treatment to cover them. Following that I painted on some thick Hammerite. That should be enough to keep the red devil away. Inside, I used both a spray treatment and Hammerite on all of the holes I could find and on any of the metal that looked like it might think about rusting. My art work will all be covered by insulation, ply, or carpeting, so I wasn't concerned about the aesthetics of the job. Once the rust treatment was finished I had to close all the holes. I used Sikaflex 252 for filling them. This is a structural bonding agent that is said to be stronger than welding. I'm not sure if it was the Sika or the cold, but it wasn't grabbing on very well. I ended up going underneath the van and using a number of coins (5 pence, 1 euro cent, and Polish grosz coins) to fully seal the holes that were causing difficulties. This worked beautifully.
Thoughts
I'll probably try to sell the plastic panelling on e-bay or some similar site. I'm not sure if it has much value or not. It was recommended to bond like material to like material rather than use coins, but these were fun and easy and I've never seen a coin corrode. They were also easier to get hold of than small sized metal disks. The coin doesn't actually contact the frame, only the Sika, so there are no issues with non-like metals touching.