Description
Battens are used to mount things to without having to drill into the metal of the van. This avoids cold bridges and rust, and lets you reconfigure more easily without worry because you've mounted to wood rather than through the metal braces. There are arguments for and against using battens, but I went with them.
Background
Battens are like the framework of your home. You don't see them, but they affect the construction, longevity, durability, and are useful to know about when trying to mount more than a picture frame's worth of weight.
Equipment
- Sikaflex 252,
- Battens,
- Chop saw,
- Tape measure,
- Sawhorses,
- Bricks,
- something long enough to reach the roof from the van floor, preferrably adjustable
Procedure
Floor
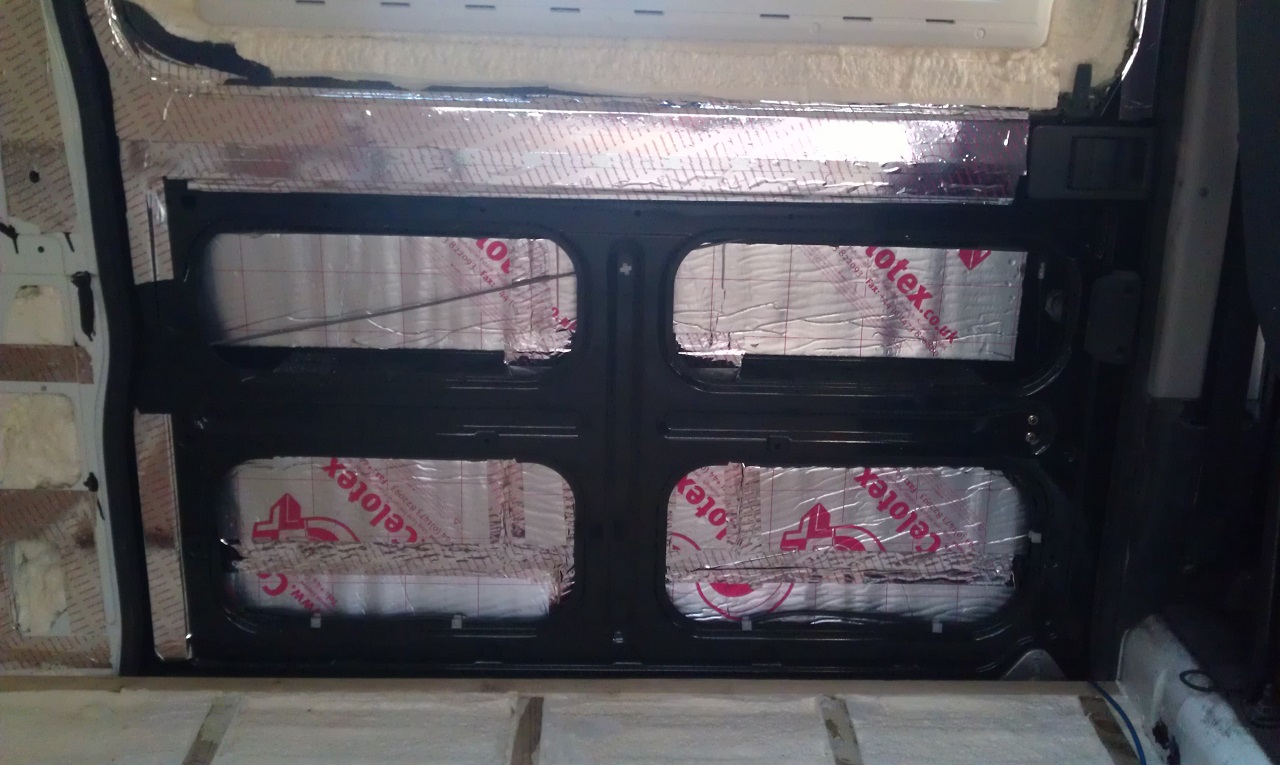
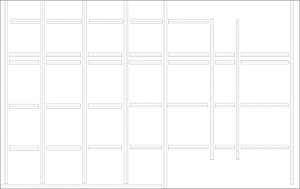
The floor was the easy part. Because it is a ribbed floor, I used two different depths of batten because I wanted to ensure that parts of the floor that were raised with battens were the same heights as the parts of the floor that were lower. You can see part of how the floor battens were in, then spray insulation between them all. This helped make the van a much quieter ride. All of the holdes from the prior floor add up to make plenty of road noise. This made that a thing of the past. You can see the drawing of where the battens are placed on the floor. The wheel arches are battened around and I placed a batten right at the edge of the sliding door to prevent the weight of people going in and out causing problems with the floor. On the far side of the van, the battens are run a little away from the wall. The intent was to help compensate for the fridge, water, and cabinets that would be located there. This keeps that are from being able to bow under the weight. The battens are less than 40cm apart because I wanted to make sure there would be no spongy spots on the floor. All of the battens were stuck down using sikaflex so no new holes were drilled.
To make sure I had plenty of strength, I did the battening in a grid. I'm not sure if it was necessary, but I didn't want to take any chances. The straight runs were easy, but I found that the little bit of bow in the batten was a problem. I stacked bricks and various other heavy things on the batten to hold them flat while the SikaFlex took hold. To make the cross-pieces, I cut them a centimeter short from touching the piece it intersected. Initially I was going to make them flush, but I realized that they may start to squeak over time as they rub together. This would prevent that.
Walls
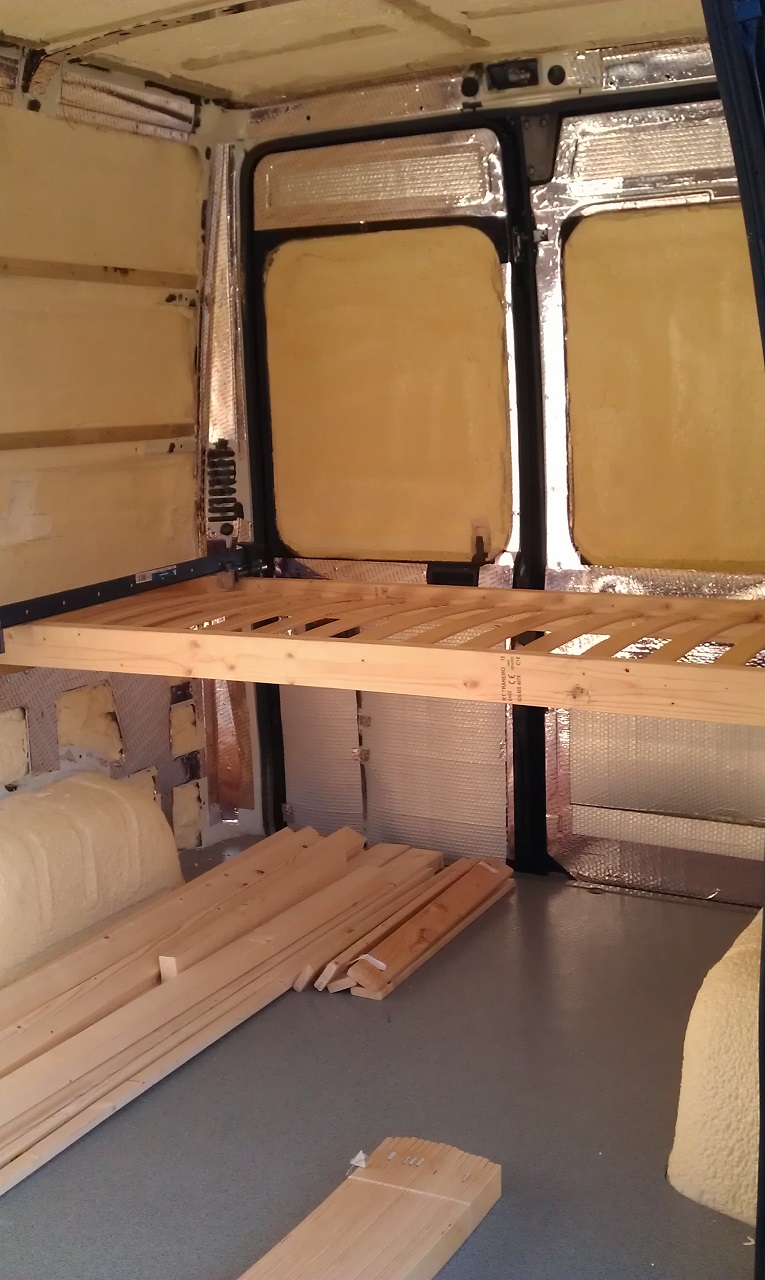
For the walls, I ran battens on the existing metal framework so that they could remain small, but could hold heavy weight. Above the wheel arches was a ledge that I stuck battens on. Above that were horizontal metal ribs that I stuck battens on. Just below the ceiling were flat parts that I stuck battens to. This gives good mount points for securing the walls, cabinets, wardrobe, bunk beds, or really any other thing that might need screwing in.
Ceiling
The ceiling was the most difficult. I stuck battens around the entire perimeter of the ceiling. I also placed battens over the cab area. I ran the battening across the width of the van 1cm away from and parallel to the metal ribs on the ceiling. Then I realized that the roof is curved. I cut the battens into three parts so that it mostly curves with the ceiling. This helps to maximize the standing room, which is important to me. I also ran batten a batten in the center of the ceiling lengthwise, cut in segments to accomodate curves and perpendicular metal ribbing.
I stuck a couple of battens and stopped for a drink... then I heard a CLUNK. When I went running over I noticed that the battens were falling off the ceiling. I ended up using some of my other battening and some of the bricks to make poles long enough to press the battens up while they stuck firmly. It took some very creative stacking of things to make these poles the right length, but eventually I had everything up long enough to dry. After a day, I could swing my weight from the battens.
Thoughts
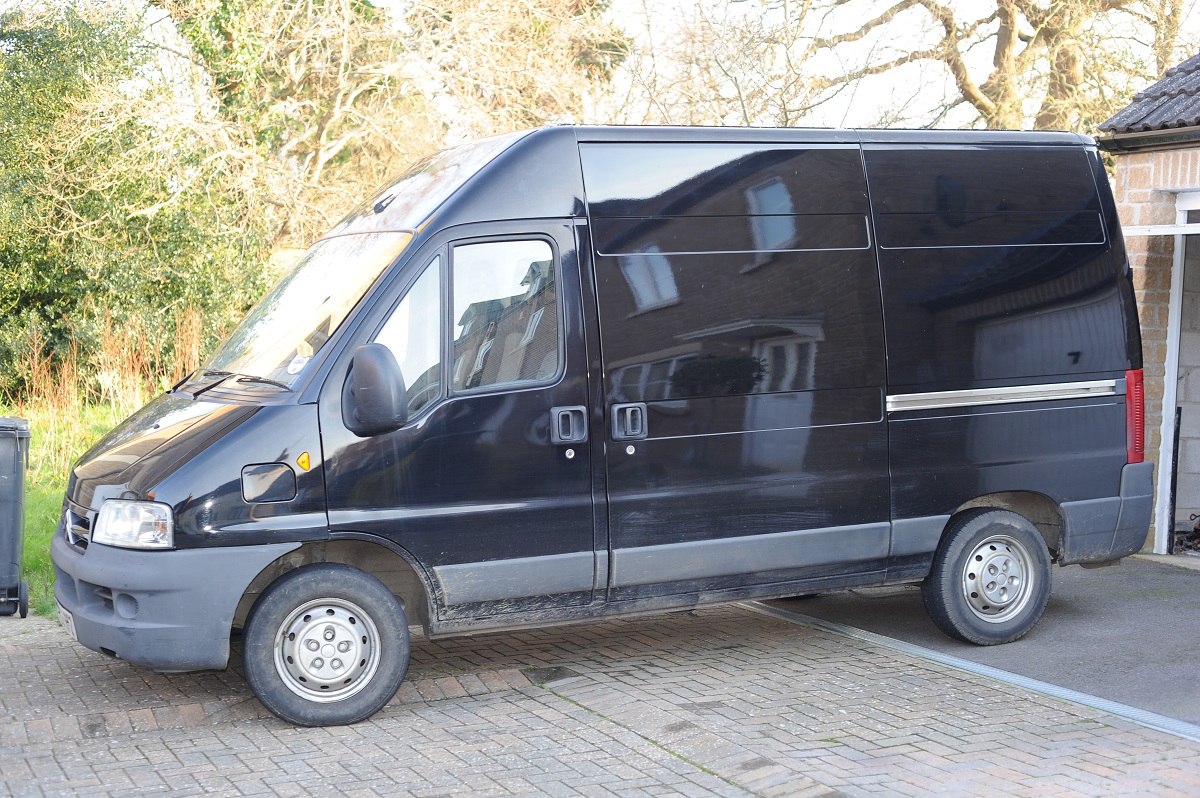
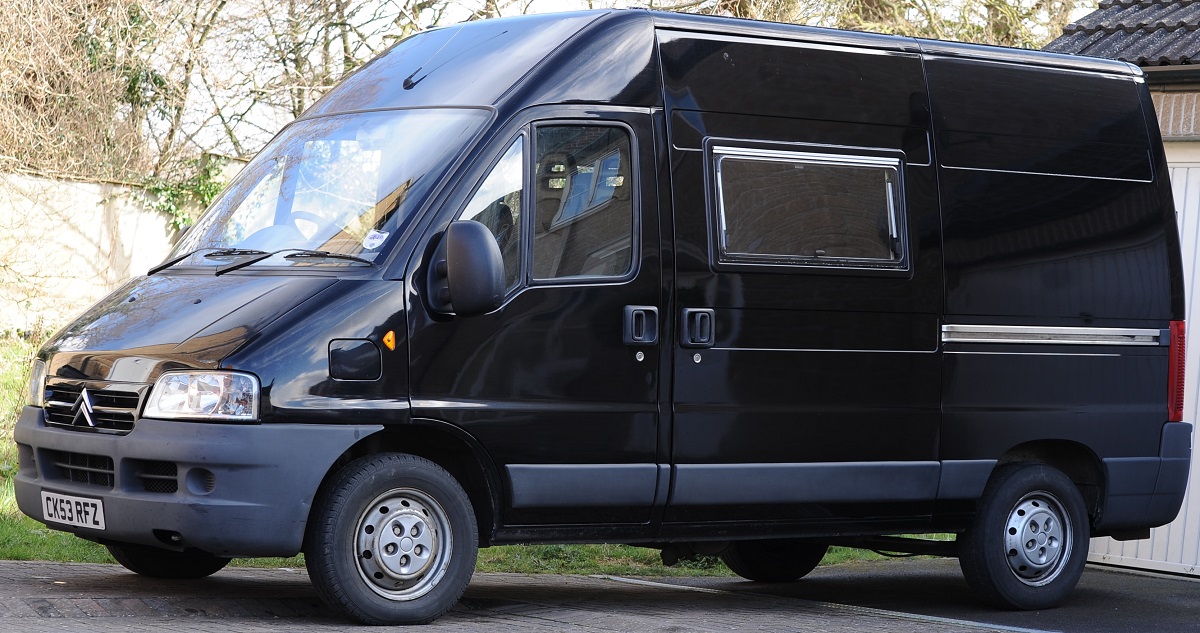
During this part of the build I took many photographs with my phone camera. Unfortunately, my phone memory card died and I lost them. The photos in this section were pulled from other sections because they are the best I have to illustrate this part of the build.