Description
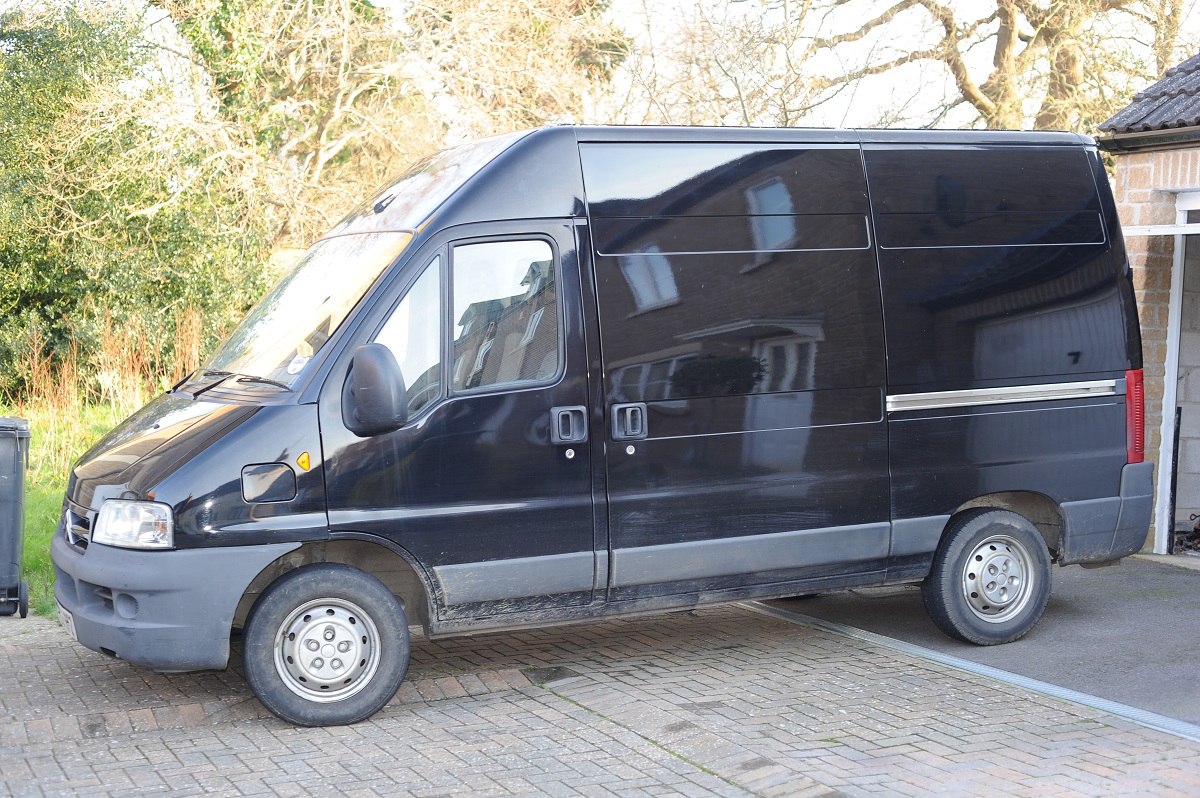
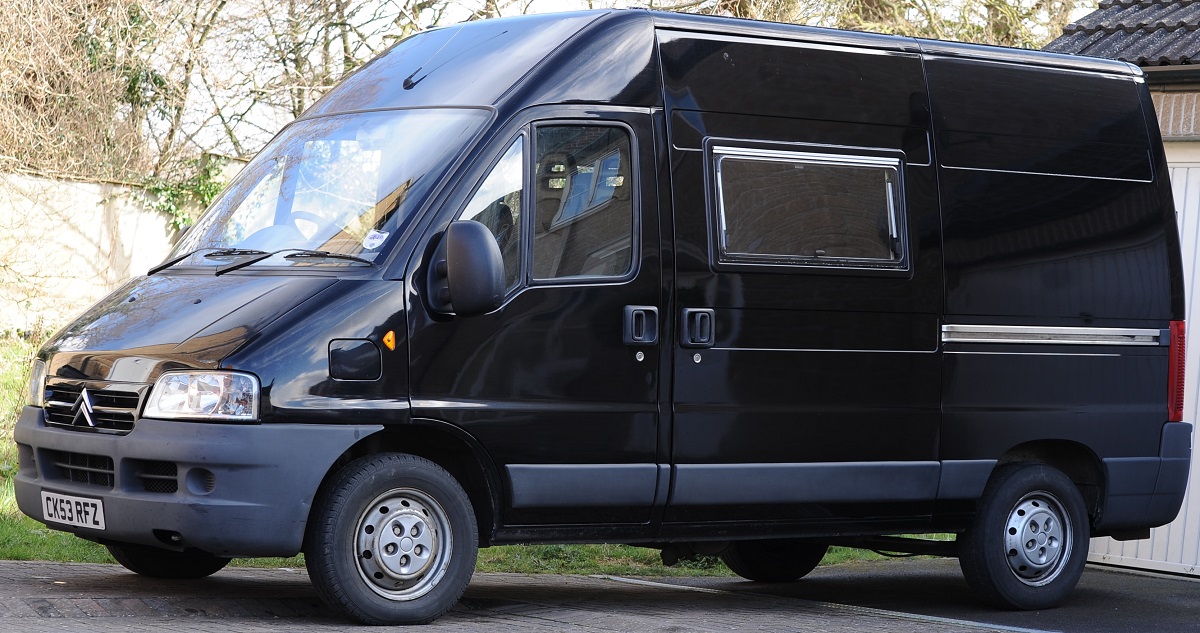
I realized right away that the van is a very different animal than a car. I had no difficulty turning or dealing with the general characteristics, but the rear visibility is nearly non-existant. Okay, that's not true. The mirrors do a great job, but not when you are backing up when there are small objects directly behind you (the stupid tree at work). There is no rear view mirror in the vehicle, which makes sense given that there are no rear windows. This is where the difficulty arises. I had originally thought that a camera solution would be far too expensive to implement based on a quick Google search, but I was proven wrong. I found out later while reading some unrelated posts on the SBMCC forums that there were very inexpensive cameras and monitors out there (thank you China). I don't have any current plans to tow a trailer, but I do have a hitch attached and one day it might strike my fancy. On that day, I'd like to be prepared to back on target.
Background
I decided to use a reversing system when I took the wife and daughter out for their first drive in the van so they could get a feel for it. I ended up on a winding lane and pulled off where there was a strip for parking so that I could get pulled around, give a quick reverse, then pull out in the other direction. I carefully looked as we pulled in to make sure everything was clear; there was only one car parked and nothing else but a grassy hill. While backing up, I struck something. I watched as I pulled away and saw two or three metal fence poles leading up the grassy hill and over time they had rusted. There was no fence, or rails, or a path, there were just metal poles in the ground. In addition, I've read a number of posts on various websites where people have complained about the difficulties in reversing a panel van when others walk or drive behind after the driver has checked, but hasn't yet begun reversing. These things made up my mind to go with a camera setup.
Equipment
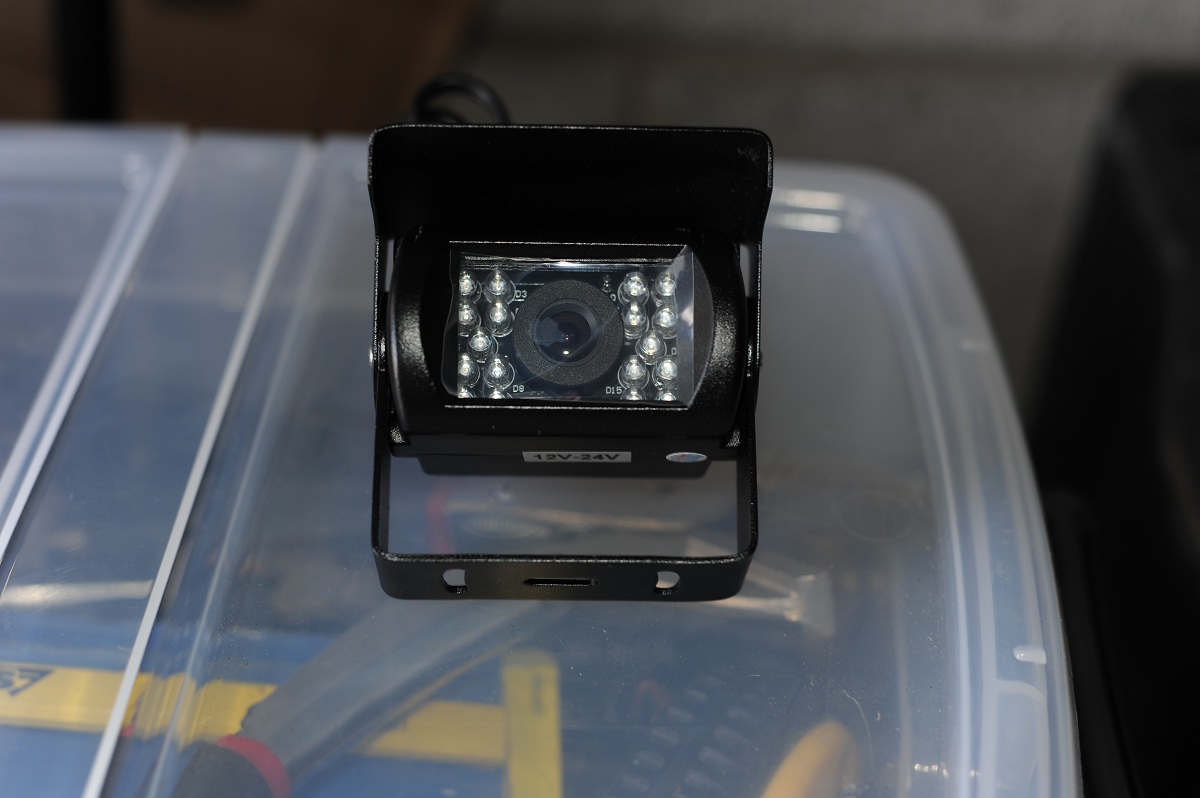
- Backup camera(s),
- Caulking gun,
- Sikaflex 221,
- White spirit,
- Screwdriver,
- Masking tape,
- Wire and splicing equipment,
- Ladder
Procedure
Mounting
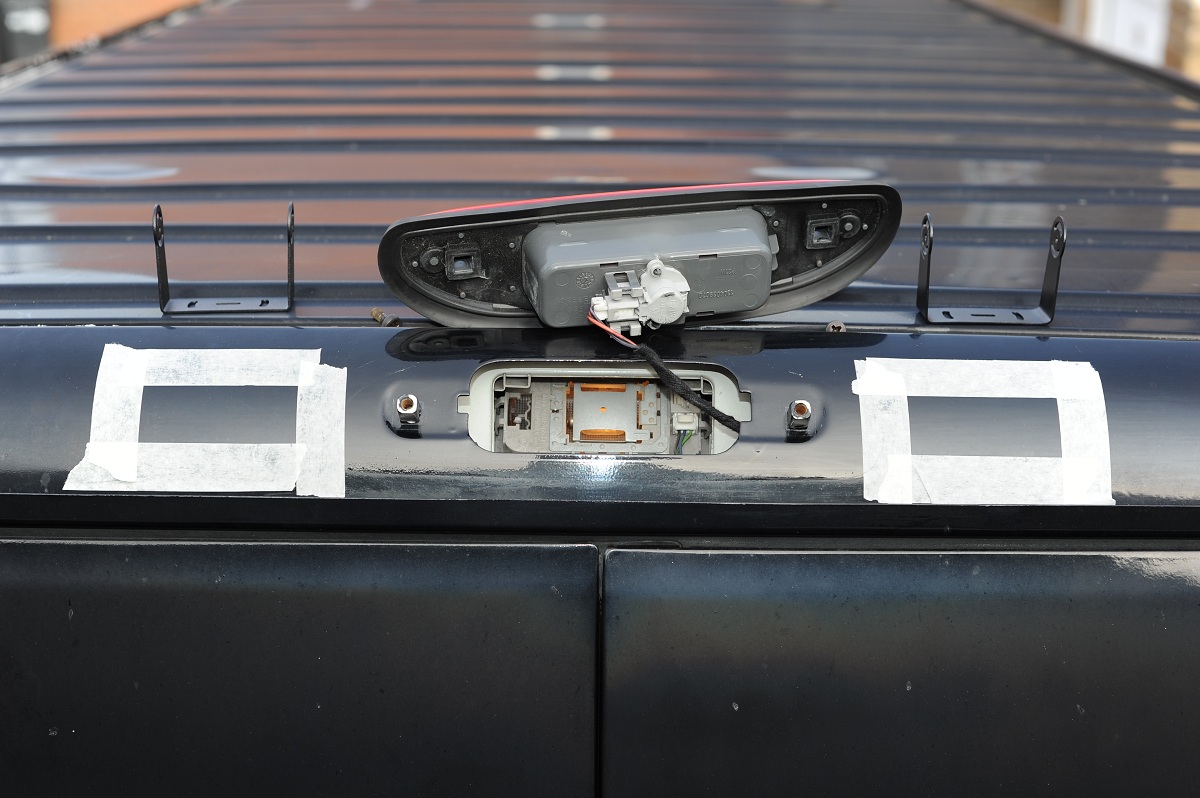
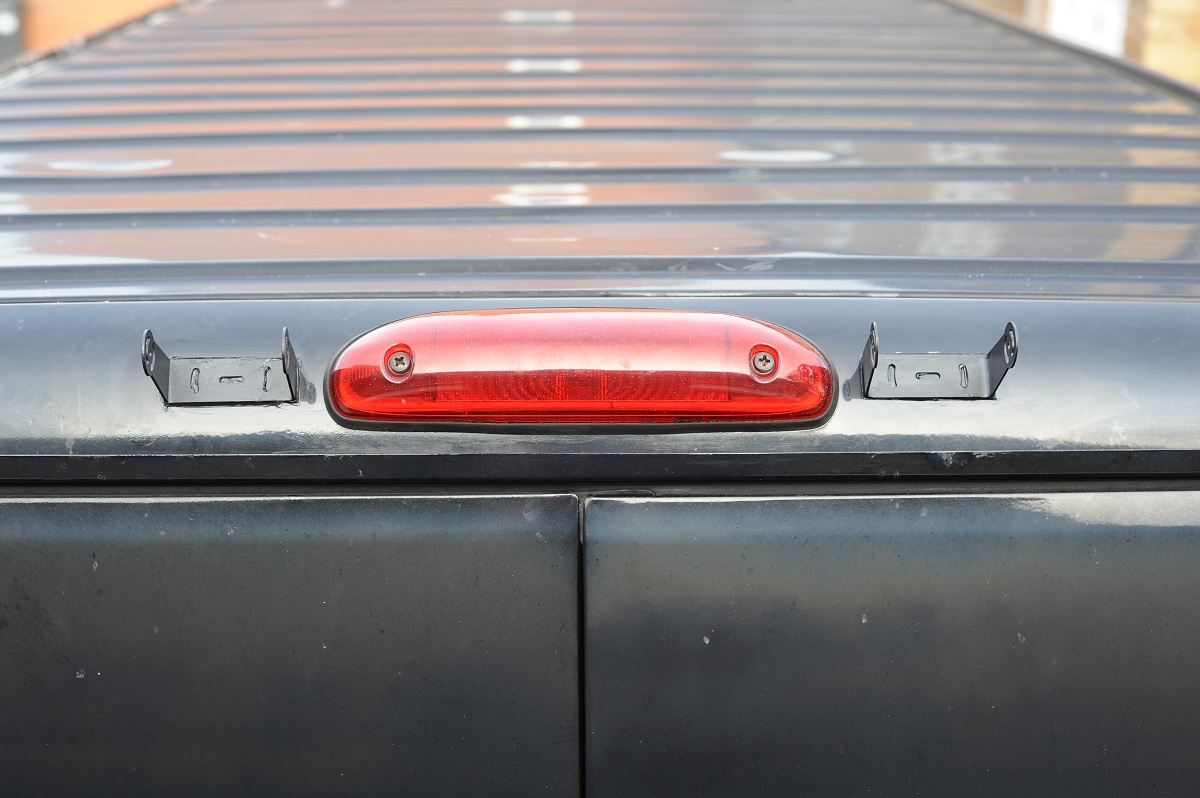
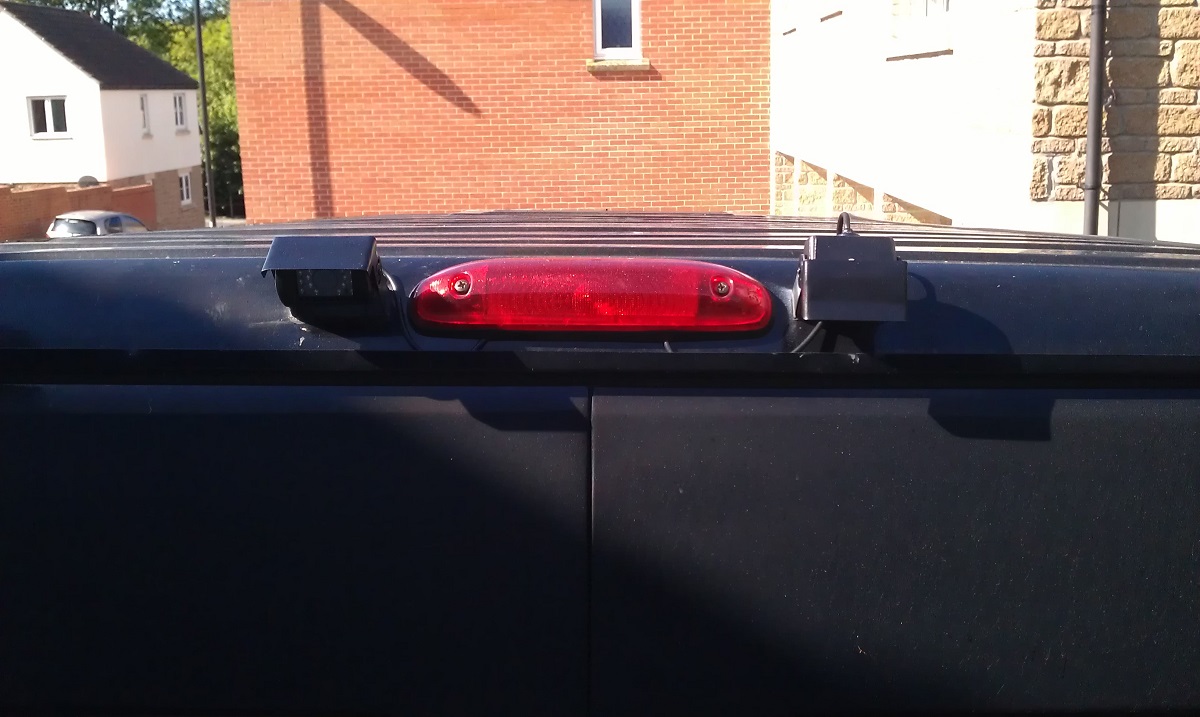
My inspiration for the mount location came from Project Vagabond a little less than half way down the page. I chose this particular camera because it is in use by others and it was reported to be decent. I chose the same location as Vagabond. It is very high, but I'm hoping that the angle will be more beneficial that way. The primary reason for this location was to avoid drilling holes in the van. I prefer to make changes that can be undone if I don't like it and this location allowed me to do just that. I used plenty of white spirits to clean the area and then set the mounts out and taped off the sticking zone.
Once all the prep work was finished, I used black Sika 221 and set them in place. If you do this, be careful of how thick you place the Sika and how you hold the mounts in place. I had a fairly thick layer of Sika and I could see the mount sliding down just a little bit. I pressed out a little of the excess and after that they stayed put. Now that the mounts are fastened without drilling, the cables still need to be run. During my research, I read a number of reviews on the wireless models and it seemed like they just needed too much constant adjusting to keep a sharp image. The knobs that adjust the transmission frequency can vibrate and slowly change channels. This causes static-looking images. All of that seemed like more work than none, so I passed on them. The main reason for mounting in this location is to run the cables underneath the light mount. The mounts can be bonded to just about anywhere, but in this location I can run the lines under the light housing and into the van, then mount the light back on top of the wiring. I've heard of interference getting into the phono lines, so I'll have to watch for that once everything is connected.
Wiring
The wiring was not as difficult as I thought it would be. I ran all my wiring from the lower right brake light area of the van. I ran a fish over from the upper brake light near the cameras and down the pillar in the rear corner. This popped our in the wiring for the lights. I added a ground lead with no issue. Next, I found the lead for the reverse lights and tapped into that. I couldn't find a wire for ignition power, presumably becuase none of the rear lights rely on that, but there is a 12v socket present in that pillar, so I tapped into its feed. The wires for the cameras are very small, so I ended up just powering them both from the ignition power. Then I ran the reverse lead up to the front of the van to attach to the LCD. When the reverse lead has power the LCD auto-selects Input 2. In this way I can use one camera as a rear-view as I drive, and the other pointed down to the hitch for very accurate reversing to objects.
Thoughts
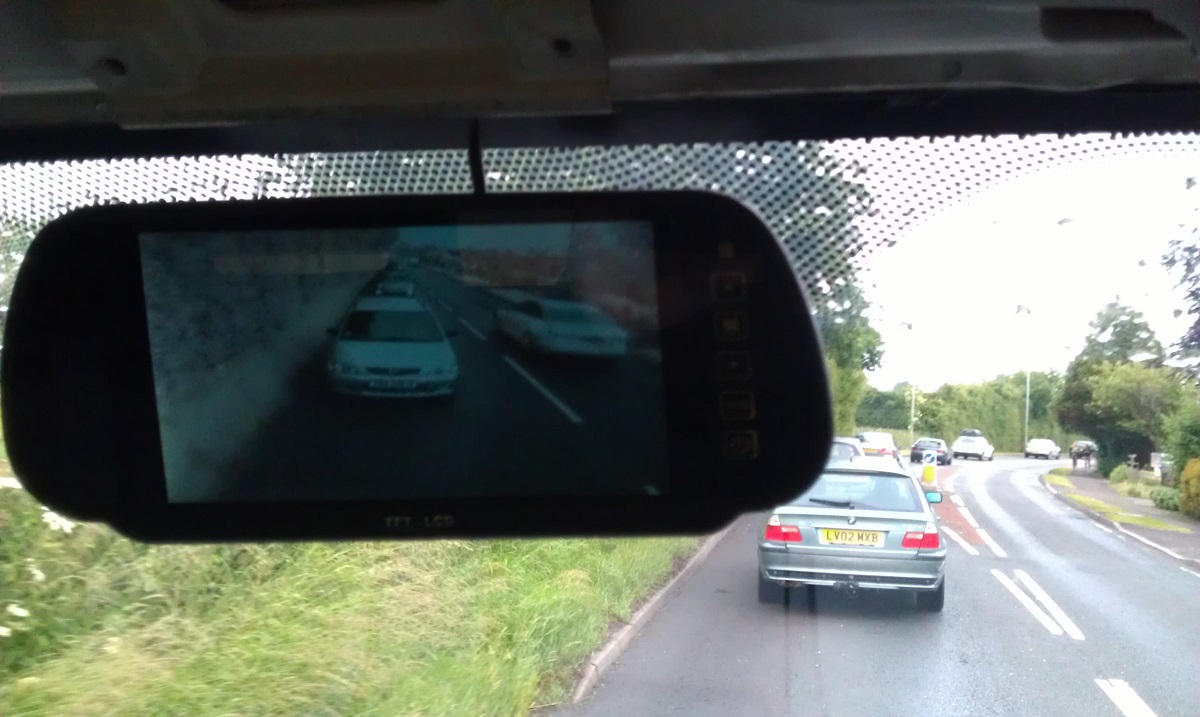
I have no plans yet to add anything on top of the van, so I could have moved the cameras down a little to avoid adding any height to the van. If you have plans for an extractor, roof light, or solar panels then it won't be a worry. The cameras and the LCD tend to wash out when it is bright, but they work really well in lower light conditions. If any component fails in the future, I may invest in higher quality replacements, but these work great for what they cost.